
The best part of our work is guiding someone into the amazing world of music. Unfortunately we find a lot of people get off on the wrong foot by buying an instrument that isn’t fit for use.
In our workshop we have a team of people who set up the instruments when they arrive from the factory. They always need adjustments to prepare them for playing. Here’s what it looks like for a violin:
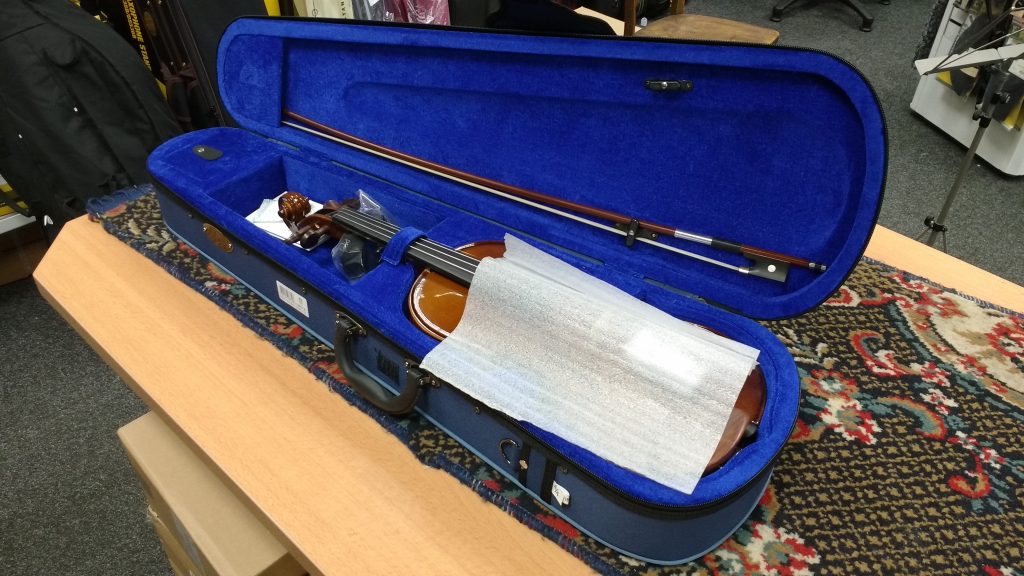
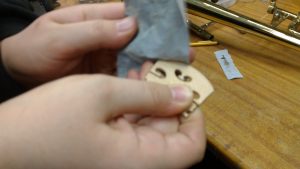
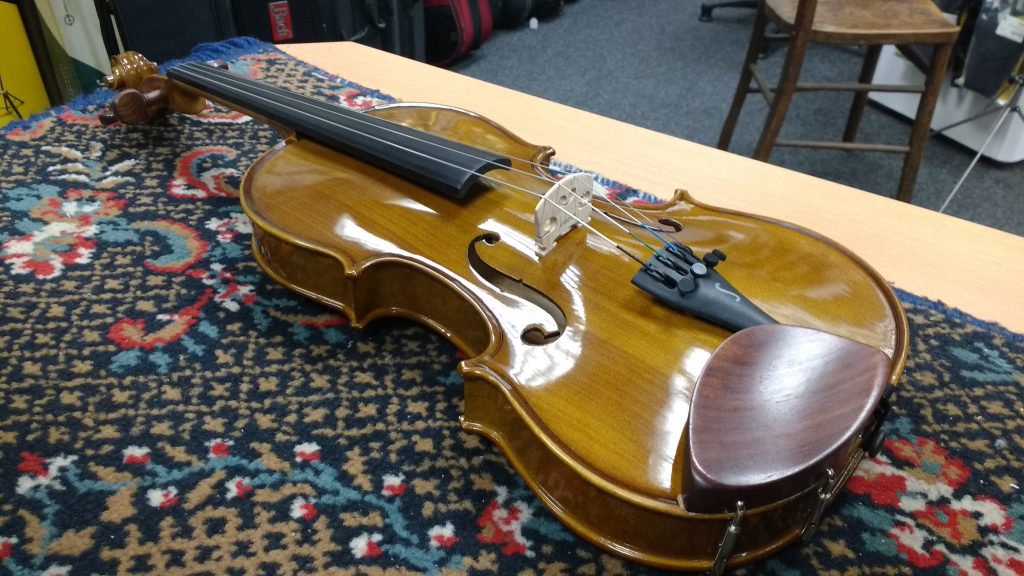
This is how the instrument comes from the factory. If your instrument has plastic or paper wrap around the tailpiece, that usually means it hasn’t been touched since leaving China.
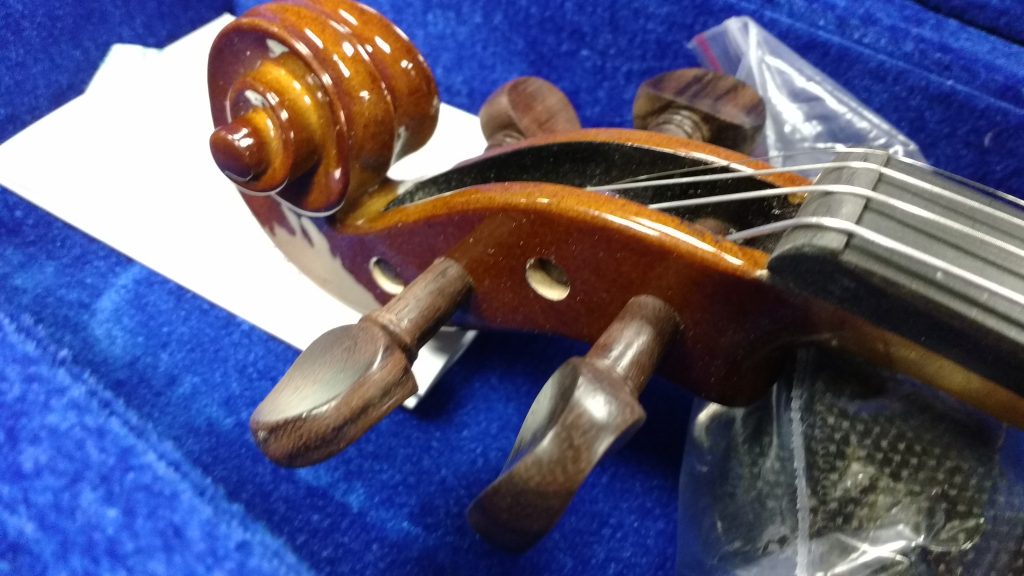
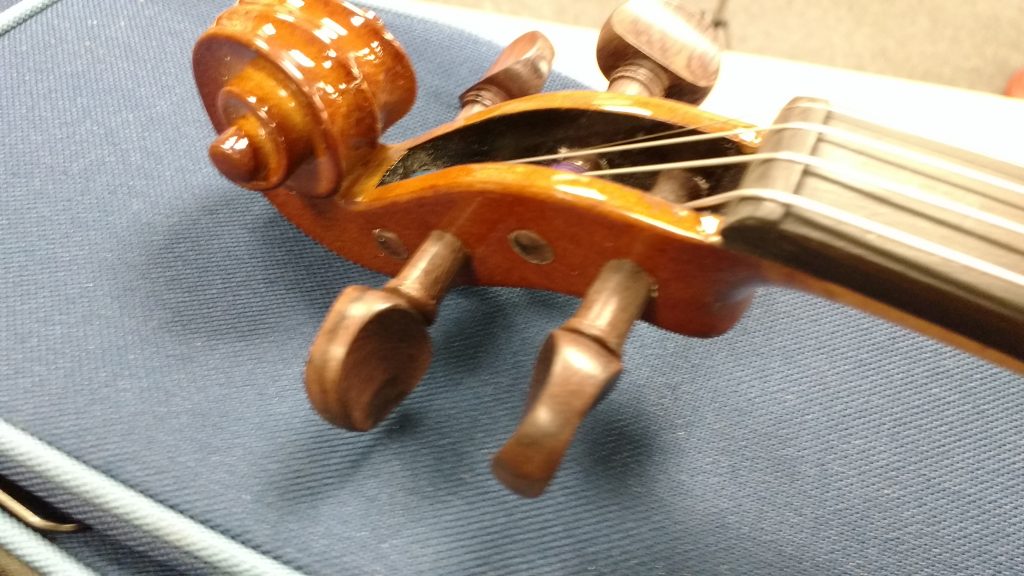
The two most important things to look at, which make the biggest difference in how the instrument performs are the pegs and the bridge. If your pegs don’t go all the way through the pegbox they won’t hold the string properly, making it much harder to tune, harder to keep in tune, and much more likely to snap a string while tuning. 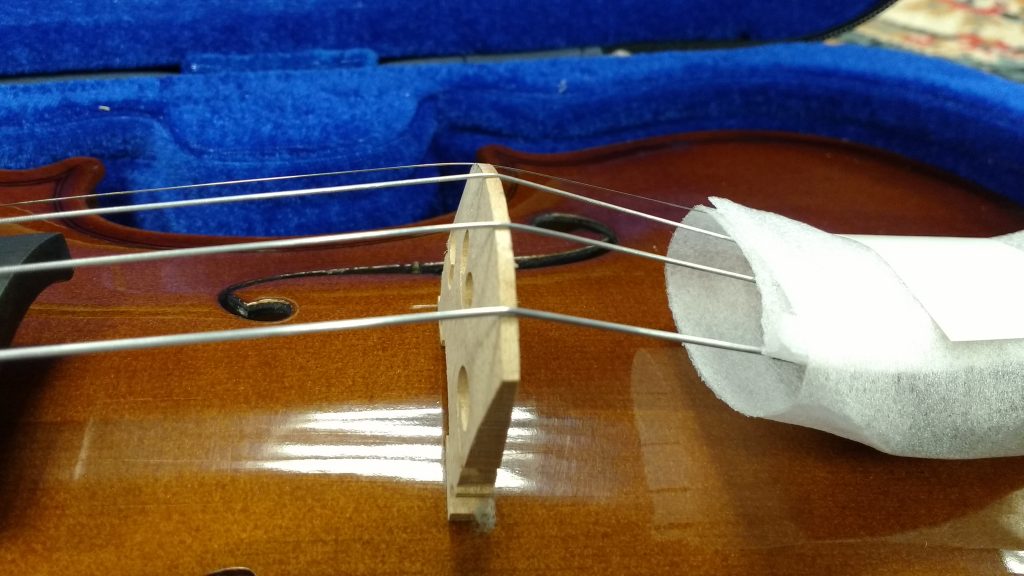
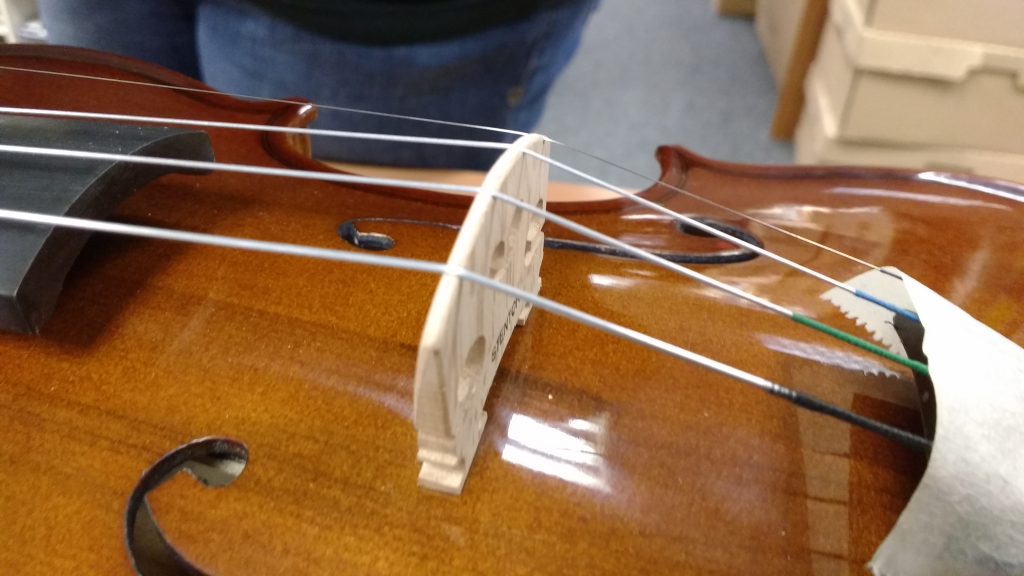
The bridge is the most important adjustment we make. Bridges will be supplied “blank” allowing for adjustment to match the violin’s fingerboard in height and shape. If your bridge looks flat and rough-cut then it’s most likely still a “blank” bridge. This makes it much harder to play, as the strings will too far away from the fingerboard, and will get worse as you play higher.
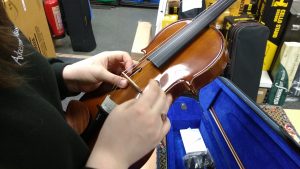
Unfortunately at this stage a lot of places will ship out the violin without making any adjustments, however for us this is when the instrument goes into our workshop.
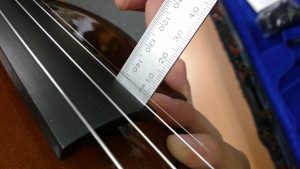
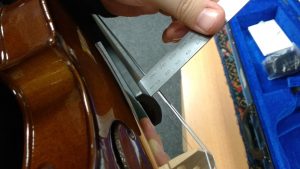
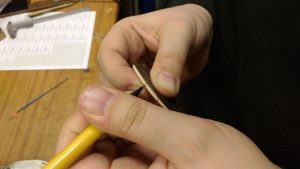
The first step is to put the bridge into the correct place, and measure the height of the strings. The exact height changes depending on the size of the violin, but we usually have to take a few millimeters off. We mark the bridge against a template that best fits the shape of the fingerboard and it’s off to the sander!

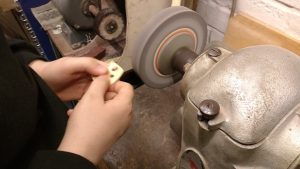
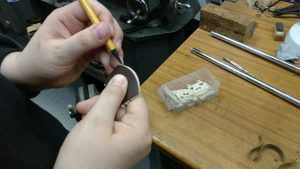
The bridge is taken down to the correct playing height and rounded and smoothed.
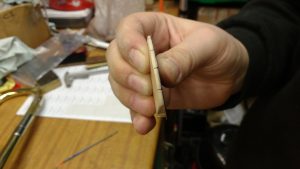
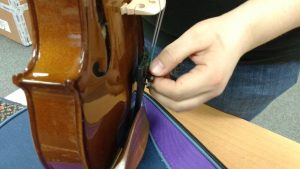
Next we file small notches into the bridge so the strings don’t roll or slip under tension, and add a little graphite (a fantastic dry lubricant!) to prevent the strings pulling and warping the bridge through years of tuning (we can tell if people only tune from one end of the instrument because the bridge will bend toward that end.)

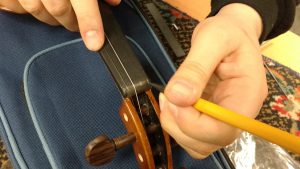
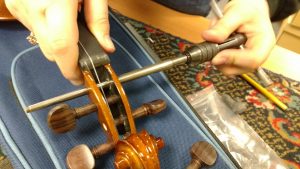
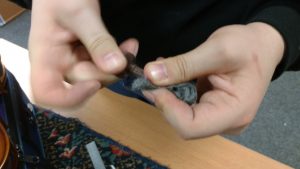
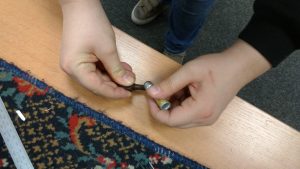
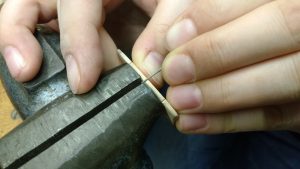
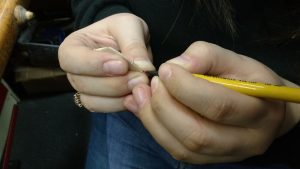
Sometimes the nut will need a little widening, and a bit more graphite is added, and then it’s time to fit the pegs. A reamer widens the hole, to ensure the pegs fits all the way through (this allows a more even fit across the peg.) A little wire wool and peg paste is added to help it turn smoothly. Once the pegs are done it just needs tuning up.
And there you have it: one finished violin. It should play perfectly straight out of the case now. Whoever gets this violin will surely be stepping off on the right foot.
Thanks for reading, if you have any questions please leave a comment or give us a call.


